When to plant
The proper time to plant bulbs is determined by when the bulbs bloom. Spring-blooming bulbs, like tulips, allium, and daffodils, should be planted in the fall while summer-blooming bulbs, like lilies and dahlias, should be planted in the spring.
Summer-blooming bulbs, also called tender bulbs, should be planted in the spring when the ground is warm and there is no longer a threat of frost. Since some summer-blooming bulbs are not winter-hardy, they must be dug up in the fall and stored until the following spring. Proper winter storage of these bulbs is crucial to whether the bulbs will succeed the following year.
Spring-blooming bulbs, also called fall bulbs or hardy bulbs, need approximately 12-16 weeks of cold weather to properly develop flower buds in the spring. When planting bulbs in the fall, keep an eye on the weather and wait until the daytime temperatures are consistently in the 60’s or lower. If the weather is too warm, it can cause premature growth, rotting bulbs, or poor development of the root system. When in doubt it’s better to wait until a light frost before planting, just make sure to get your bulbs in the ground before a hard freeze! Fall is also a great time to divide or move any existing bulbs that you have in the ground.
Steps to Bulb Planting Success
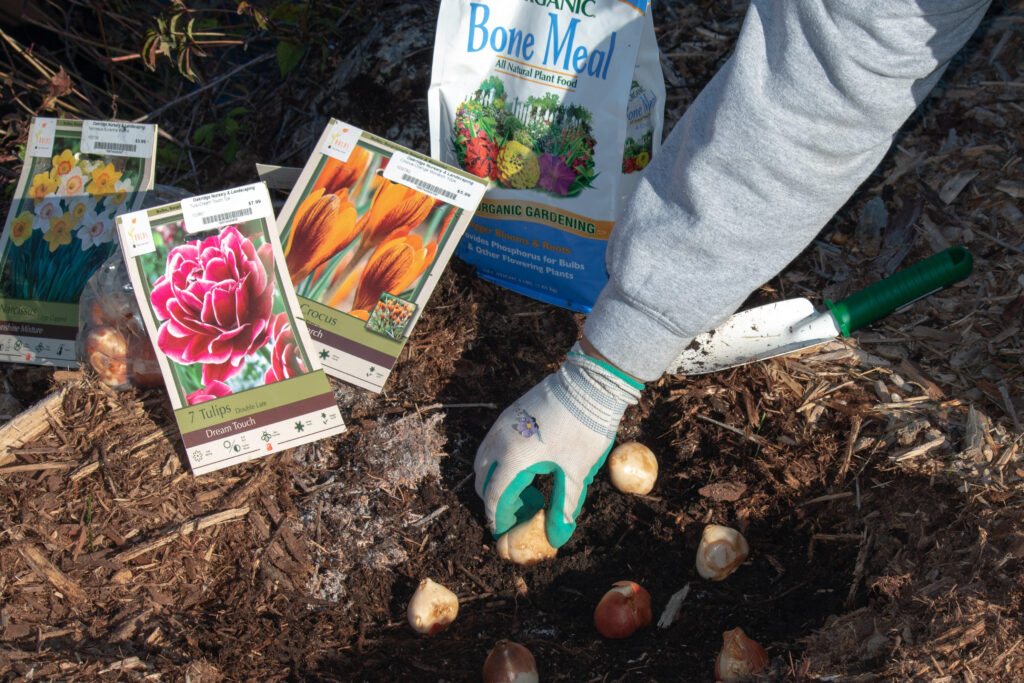
- Choose your bulbs- When choosing your bulbs take into account the height of the bulb and the bloom time. Staggering the bloom time of your bulbs will help to extend the color through the season.
- Check your soil- Make sure you are planting in an area with proper sunlight and well-draining soil. If the soil is dense, amend the soil with peat moss or gypsum to help increase drainage.
- Plant your bulb at the proper depth- Check the back of your bulb package to determine the proper planting depth for your bulb variety as some bulbs will not flower if they are planted at the wrong depth. As a general rule, plant the bulb 2-3 times deeper than the height of the bulb. For example, a 2” bulb should be planted 4-6” deep.
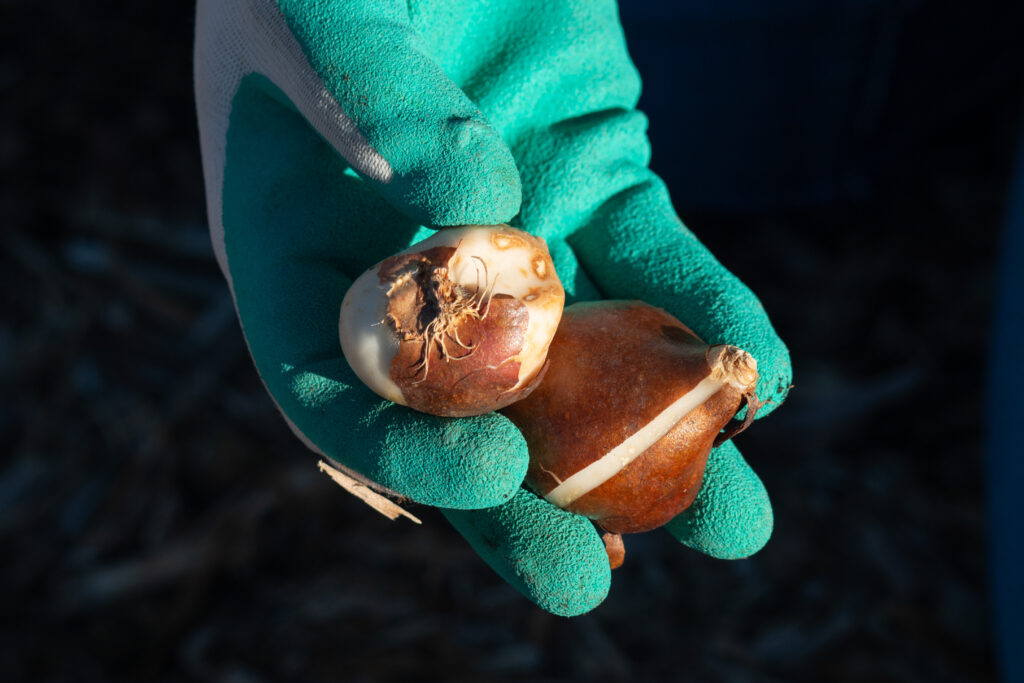
- Plant your bulbs- Place your bulbs into your hole with the pointed end towards the sky. If it is hard to distinguish which side is pointed, you can look for dried roots to indicate the bottom of the bulb.
- Space out your bulbs- Check the back of your bulb package to determine the proper spacing of bulbs. For a bold pop of color, bulbs can be planted closer than recommended. Densely planted bulbs may not come back as strong the following season and will need to be divided sooner than properly spaced bulbs.
- Add fertilizer- add compost or bone meal to your hole with your bulbs to help promote strong root development.
- Cover your bulbs- Once you have your bulbs at the proper depth and space, cover the hole with soil.
- Water your bulbs- Thoroughly water your new bulbs to settle the soil. After the initial watering, do not water the bulbs until you begin to see growth. Overwatering bulbs while they are dormant can lead to the bulbs rotting.
Digging up and Storing Bulbs
- Cut any remaining foliage back to a couple of inches above the soil.
- Carefully loosen the soil and remove the bulb.
- Spread them out in a cool, shady place for a few days to allow the bulbs to dry out. Some bulbs are poisonous so make sure to keep them away from children or pets.
- Store your bulbs in a cool, dark, dry location such as a basement or garage. It is best to store the bulbs in a container that can breathe, such as a paper bag or a mesh bag. Avoid storing bulbs in plastic as this can lead to your bulbs rotting.
- Check your bulbs monthly for any signs of mold or rot.